Tuesday, May 28, 2013

Spring Trip! DAY 2: Cave City and Mammoth Cave!


After a lovely visit at Serpent Mound, we began our long trip to Cave City, Kentucky. Google Maps says that it's a trip that should have taken us a little over four hours.

Google Maps is a liar.

We drove through torrential downpours, standstill traffic, more torrential downpours, and countless hills and valleys. There were points at which if felt as if we had driven all the way to the Gulf of Mexico. No matter how long we drove, the answer to "HOW MUCH LONGER," was always met with a tired, "about two more hours." This has since become an in-joke, a rallying cry, and an all purpose answer to all manner of questions.

The boys' cabin.
We eventually made it to Jellystone Park Camp, our home for the first two nights. Our amazing crew of parent chaperones called ahead and had a feast of pizza waiting for us, and we let the kids run around exploring together to burn off some of the energy built up by twelve hours spent on buses.

The lights-out portion of the evening went surprisingly well. It was late, and everyone knew we had a long day ahead.

The next morning, the kids rose with the sun, and they were treated to a feast prepared by our all-star parent crew. The parent cabins were equipped with kitchenettes, which were used to make toast, fry bacon, and scramble up several dozen eggs. There was also fresh fruit, yogurt, milk, and juice.

Then we loaded up the buses and headed to Mammoth Cave National Park. The drive from our campsite to the park is peppered with an assortment of local curiosities and attractions (a less charitable person might call them "tourist traps"). If you're planning on visiting Mammoth Cave National Park on a family trip (and I've already heard several rumors of people tentatively planning on returning), make sure to plan some time for bumper boats, the Mystery Spot, and the absolutely terrifying looking "Alpine Slide."

Our first cave tour was called the New Entrance Tour. The brochure sums it up:
New Entrance Tour
A wonderful complement to the Historic Tour, this trip includes a dramatic series of domes and pits, typical large trunk passageways, and a short journey through dripstone formations.
That description really undersells just how amazing it all was! First of all, the "new entrance" means exactly that. The entrance to this part of the cave is manmade, and looks nothing like what you would probably expect:


That utility door that that everyone is entering is the entrance to the cave. It looked much more like something out of the television show Lost than an ancient natural wonder.

DISCLAIMER: It is really, really difficult to get good photographs in caves. They are very dark, and frequently cramped. Rest assured that the views in person are amazing! The photographs that follow are... less so.

Just through the doorway is a damp, dank, manmade stairway. 

The manmade portion quickly gives way to the cave itself. Stainless steel staircases and walkways twist and turn through the passages. It's really, really cool. 

Aristea and Lev.

Here's a blurry shot of not-much, but if you look closely, you can get a sense of the scale of the interior. 

Again, this may give you a small sense of the scale of the passages. At the top of this photo, you can see a group gathered around a light. At the bottom, you can make out the ghostly silhouettes of people just in front of the camera who are about to climb the stairs.   

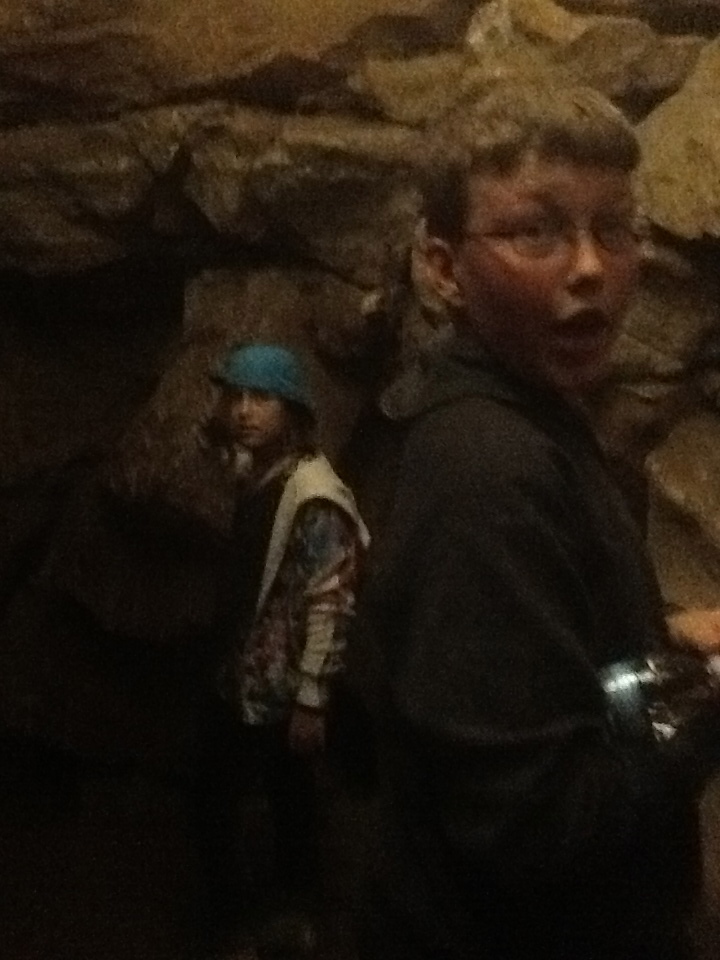
People were regularly exclaiming with wonder, pointing, posing, and generally having a wonderful time. Here are Aristea, Denali, and Margaret gathered around a light at a bend in a passageway. 

Each tour features a guide, who made frequent stops to tell us about the science and history of the cave.  We heard a lot about limestone, the sandstone cap (which is the waterproof barrier above the cave), and the colorful human history of the cave.

Following this two-hour excursion, we all enjoyed lunch together in a cafe in the park. Afterwards, Karl took a large group of kids kayaking above ground on the Green River, while I went with a smaller group on a second cave tour. I'll tell you a little about that tour in our next entry!


Spring Trip! Part 1: Serpent Mound


WE MADE IT.

By now, parents, siblings, and families have all probably heard many tales of epic adventure about our Spring trip. Between the parents, teachers, and photo-crazy students, I'm fairly certain that there are well over 11 million photos from this trip. Here are a few highlights from my camera. I'll start with Serpent Mound:

After a long, scenic drive through rural Ohio (and most of Ohio is rural), the kids were ready to run. Here we see them exploring the Serpent (and surrounding areas).


Of course, by "exploring," I mean "picking flowers" and "sinking into mud up to the knee..."

The mound sits on a ridge 100 feet above Ohio Brush Creek. 


A group shot on the observation tower. 


Serpent Mound was a really neat stopping point. It's out of the way (way out of the way), so we essentially had the place to ourselves for the duration of our visit. While there, I picked up a book called Indian Mounds of the Middle Ohio Valley. As it turns out, there are a lot of these mounds spread across Kentucky, Ohio, West Virginia, and Indiana. Serpent Mound is the largest, and generally the most well known. Others can be found on golf courses, in the parks of small towns, or tucked away in subdivisions. These mounds are often subtle, giving little clue that they represent the work of cultures that lived here one thousand years ago. (Artifacts found at Serpent Mound have been dated to 1030 AD.)

After lunch, a tour of the gift shop, and many, many photo ops, we loaded back onto our buses and resumed our long journey to Cave City, Kentucky.


The kids create their own serpent!

Wednesday, May 15, 2013

Seed Bombing


Hi, I’m Noah. I’m in Jason’s 5th grade class, and I have a blog post just for YOU! Yes, you. It’s just for you! On Wednesday, May 1, we went down to the Water Street Redevelopment Project, and we seed bombed it!

If you don’t know what seed bombing is, I’ll tell you. Seed bombing is when you make these little balls made of clay, compost, and whatever seeds you want, and throw them into a field. Mark Maynard, (Clementine's dad) wanted to seed bomb the field because he thought it would
show that the people of Ypsilanti care about their community. 


Making the seed bombs
At first, he decided to just do it with adults and their children, but after some thought, he thought that it would be a good educational experience, so he decided to include schools. His original idea was to seed bomb with sunflowers, but after talking to other people about it, he decided not to, mainly because if the sunflowers roots pick up pollutants, they would have to be treated like hazardous waste. Plus, it’s better to use native plants because they are stronger when in their own environment.

Noah with a slingshot
The tools we used to shoot the seed balls out were our hands, tiny trebuchets, a colossal trebuchet, slingshots, and a snowball thrower.
Some people were kind of violent, throwing them like there are aiming at birds, and others were more subtle. But all in all, everyone loved it! It turns out that your hands are the best for aiming, the snowball throwers sort of worked, the tiny trebuchets failed almost always, and when they did work, that launched it 3 feet away from the curb, and the most efficient was the slingshot, that shot it extremely far, and had amazing aim and precision! The seeds we used (for you horticulturalists out there) are in this link right HERE.The people who made the trebuchets were all in Science Club, and you can check out Dr. G.’s Blog for a little bit about the construction, which is right HERE. The main event took place at 5:00 PM, but I couldn’t show up, but I do have a few pictures from Mark Maynard’s Blog, which is HERE.


Anyway, that’s my blog post. Thank you all for reading! This has been Noah, a new reporter, signing off!

Tuesday, May 7, 2013

Lee on Computer Games


This is Lee.  I am posting on this blog for the first time, and I am super excited!  I am going to tell you about video games we have been using in our class.  One online game I would suggest is Gamestar Mechanic!  It is all about learning to build computer games, and you can play games that others have built. You can build educational games, skill games, or even games with riddles!  You can edit your avatar’s speed and health, and an enemy’s speed, damage, health, movements, and possibly rate of fire and jumping!  It has been useful in our class because we could make projects with it.  You can build games with text and a story, or just to be a challenge!  

Here are some of my sample games:


The first game is just for a short challenge:

These two games show people the basics of gamestar mechanic controls:


This game is to show that backgrounds are important in games.  For example, if you play without a background, this game looks simple.  But with a background, there is an illusion.  (Press z or m to go into a portal (yellow side) and come out the other end (gray side).)

Here are some Farm to Table games from the start of the year: 


Next is a game that I made in math class, about a game we were studying called Nim.  We were studying it because it shows how binary works, in a simple way.  Each player can take 1, 2, or 3 sticks at a time and whoever takes the last stick wins or loses. (Predetermined at the start)  

You play with 20 sticks and take turns.  If you go first and pick the right number of sticks sticks you always win.  
First turn: pick 3.  
All other turns: If your opponent chose 2, take 2, chose 1, take 3, chose 3, take 1.  

If you do this, you will always win, because when either player is at 5 sticks, the player who’s turn it is loses.  You can force your opponent down to five sticks if it is their turn with nine, down to nine if it is their turn with 13, and down to 13 if it is their turn with 17.

Here is a version of Nim that I made with Gamestar Mechanic. To make your selection, press Z.


I hope you like these games, and maybe even get an account!  

And speaking of games, I think that since Electrocity and Garbage Dreams are allowed in our class, I will tell you about them.  

Electrocity is all about running an energy- efficient and populous city and after 150 “turns”, you are graded on how well you ran your city.  You start with $400 and a population of 10,000.  You start with a small wind farm powering your electricity. If you go bankrupt or have a population of less than 1000 people, you lose.  I have a high score of  85%, or “A-”  if you just continually press “next turn”, (And always buy the power shortfall), you end up with 68 points, or a “B”  This was relevant to Global Citizenship because it is all about running a town.

Garbage dreams is all about recycling.  You get a pile of trash and recyclables and have to recycle and throw away the items that you find.  The recyclables need to be sorted into organics, paper, aluminum, tin, glass, and plastics.  You start with paper, organics, and $150.  You can expand your garbage empire, but you only have 8 “months” (turns).  The goal is to get as high of a percentage of recycling as possible. My high score is 13%.  You lose if you go bankrupt.  It is related to Global Citizenship because we were studying the great garbage patch, and pollution in general.